Hawk Electrical Page 2

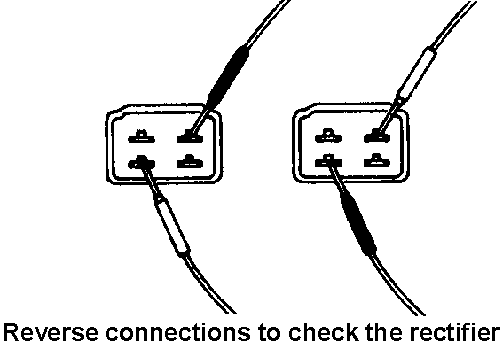
   Between the green lead and each yellow lead there should be continuity in one direction only. If you are using an ohmmeter, continuity" will be 5-40 ohms. "No continuity" should be at least 2,000 ohms.


   For each pair of wires, the tester should show continuity in one direction, but not when the tester leads are reversed. If there is continuity in both directions, or in neither, the unit must be replaced.
   4. Check continuity between the red/white lead and each of the yellow leads in the same manner. The same results should be obtained.
   5. If the rectifier fails any test, it must be replaced.


IGNITION SYSTEM
The Honda Hawks use a solidstate Capacitor Discharge Ignition system which consists of an ignition coil, sending unit, and signal generating coil.
   Special equipment must be used to check the system components. Therefore, these tests must be left to a Honda dealer.
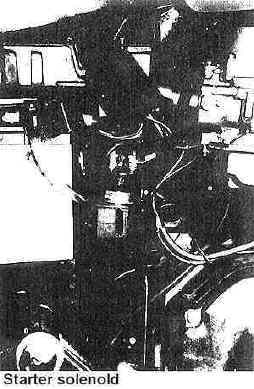

STARTING SYSTEM
The starting system consists of the starter motor and clutch, the solenoid, and the handlebarmounted starter switch. When the button is pressed, the electrical circuit to the solenoid is closed and the solenoid is activated, sending the battery current directly to the starter motor. The starting system is quite reliable and it is unlikely that any major problems will arise.
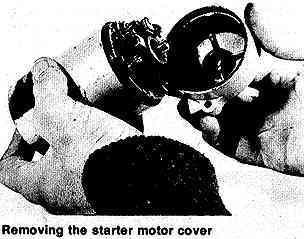
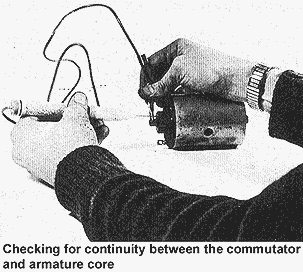
Testing
  
1. If the starter motor spins when the button is pushed, but the engine does not, the starter clutch is defective.
   2. If the warning lights dim when the starter button is pushed, but the engine

and starter do not turn over, the battery may be too low, or the starter may be defective.
   3. If nothing happens when the starter button is pushed, either the starter solenoid is defective, or there is a loose wire in the electric starter circuit.
   4. If a "click" is heard when the starter button is pushed, but nothing else happens,
either the battery is too low to operate the starter motor, or there is a bad connection in the high tension cables from the battery to the solenoid or from the solenoid to the motor.
   5. Bad connections are the most likely source of trouble. If one is suspected, disconnect the starter motor cable from the battery and from the solenoid.
CAUTION: Disconnect the battery side first.
  
6. Clean the copper eyelets with sandpaper until they are shiny. Before this cable is refitted, do the same to the cable from the solenoid to the starter motor.


Starter Motor
REMOVAL AND INSTALLATION
  
1. Disconnect the starter motor cable from the battery positive terminal.

   2. Disconnect the starter motor cable from the starter motor.

   3. On CB 400A models, remove the oil pressure switch protector. Disconnect the switch wire, and remove the switch
   4. Remove the mounting bolts and take out the starter motor.
   5. To disassemble the starter motor, remove the two long case screws. Carefully remove the case cover with the mounting bolt holes.
   6. When assembling the motor, be sure to align the match marks on the case and the two covers.


INSPECTION
  
1. Check electrical continuity between the commutator and armature core using a multitester or test light and battery. If continuity exists, the armature coil is grounded and the complete starter motor unit must be replaced.
  2. Check for continuity between all of the commutator segments. Continuity must exist in each case.
   3 . Check continuity between the brush that is wired to the stator coil and the starter motor cable. Lack of continuity indicates an open circuit in the stator coil, and the starter motor unit should be replaced.

[Home] [Hawk Part 2] [Hawk Part 3] [Hawk Part 4]